
How to Resize Art

Hey Gang!
So you’re a pro at uploading your work, tagging your pieces and giving them great titles and descriptions, and you even know how to knock out backgrounds so that your designs look awesome on all of your products in your storefront.
That’s great!!
But now you’ve hit a wall...you have a piece that’s too small for our uploader requirements and you don’t know how to resize it! Wuh-oh!
Never fear, we’re here! We’ll walk you through how to resize your art on the most popular image manipulation app in the TeePublic community: Photoshop, Illustration, and GIMP.
Photoshop:
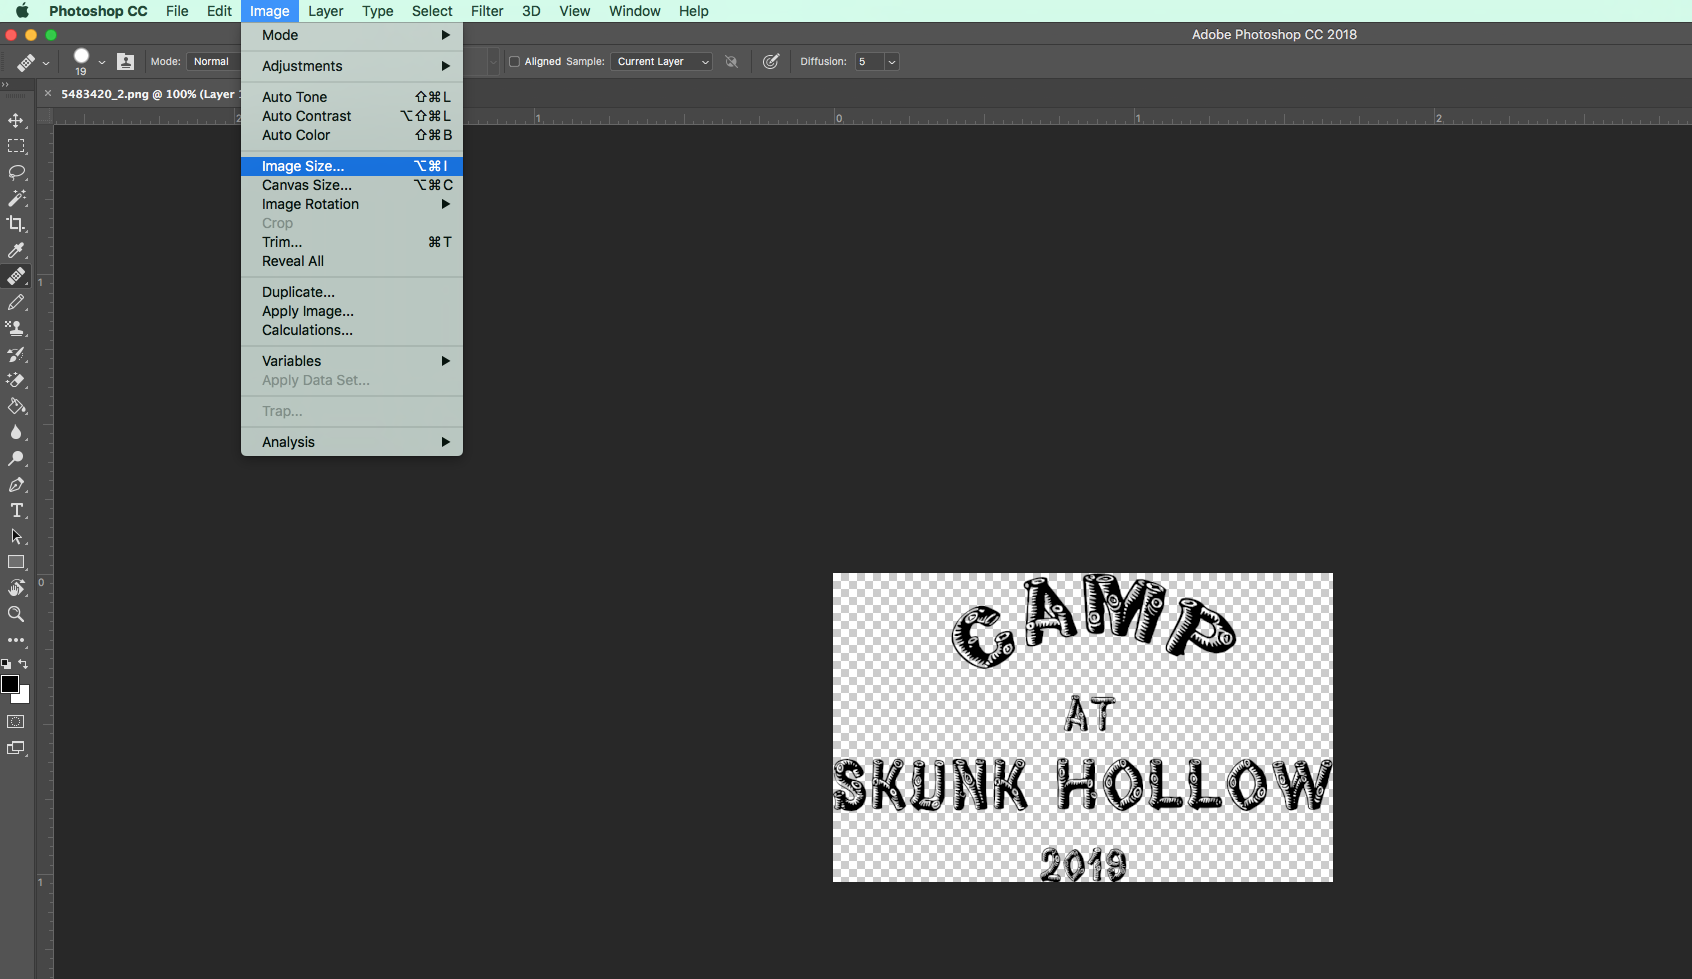
- Drag your piece into Photoshop.
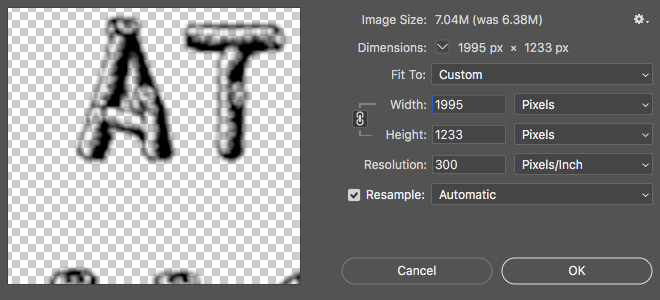
- Select Image > Image Size…
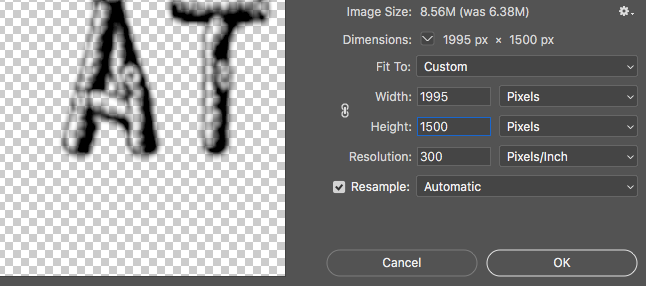
- Resize the image to be at least our minimum requirements, 1500px by 1995px. Paired resizing is the default on Photoshop so that image proportions are maintained.
- If you want to resize only one side of the image but not the other, select the chain icon and resize.
- Hit ok and then save the new version of your design.
Illustrator:
- Press "Shift-F8" or click “Window” and “Transform” to open the Transform panel if it is not visible.
- Use the "Arrow" tool to select the object.
- Enter the desired width and height in the "W" and "H" fields. respectively.
- Click on the "Lock" symbol to constrain image proportion.
(With thanks to https://smallbusiness.chron.com/resize-images-illustrator-55155.html)
GIMP:
- Go to Image > Scale Image
- A dialog box will appear, which looks much like the one from Photoshop.
- Resize in the same manner as Photoshop.
- Select Cubic quality.
- Hit Scale.
(With thanks to https://guides.lib.umich.edu/c.php?g=282942&p=1888162)
Great job! Now that you know how to resize, let’s see some new art in your shop!


