
How to Optimize Your Designs for Every Product

Hooray!! You’re here! You’ve signed up for your TeePublic shop! You’ve uploaded your designs! Uh oh…that design doesn’t look right on that phone case….this design needs a background on the mug…hmm.
How do you optimize your designs on each one of the products, you ask? Well don’t worry, we've got you! We want to make sure you're happy with the image of your artwork you are putting out there into the world.
Optimizing your design correctly will allow you to offer your art on all of the available products, which opens up more opportunities to be found in search, and to make a sale. What could be bad about that?!
Below we’ve outlined two different types of designs, and how to make them look great on each product.
First, let's take a look at a design that has a background that shouldn't be made transparent, as it's integral to the art piece as a whole:
View in uploader
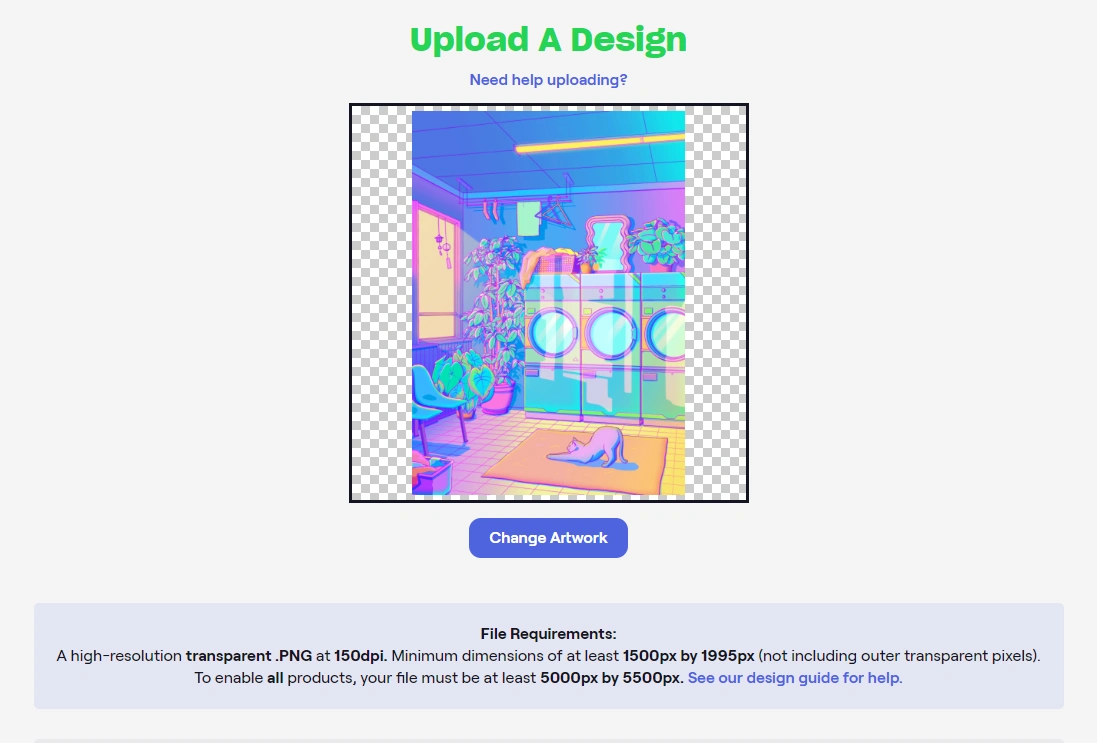
(Source Image: "Laundry Blues" by Owakita)
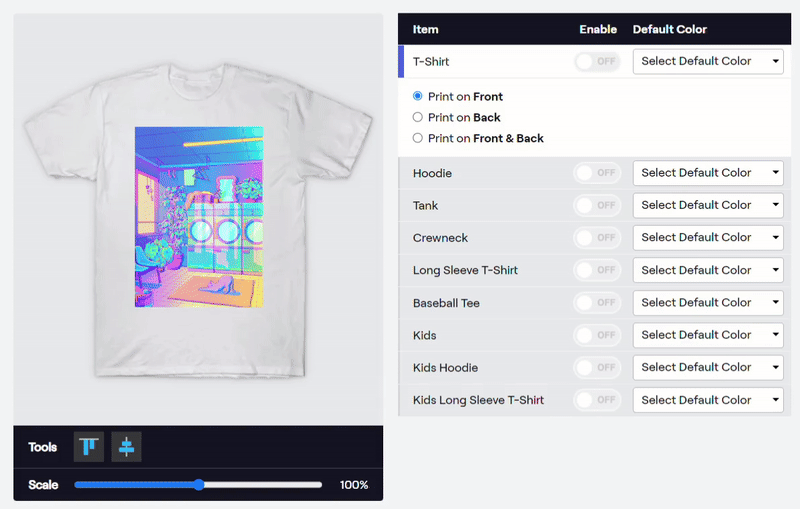
Apparel

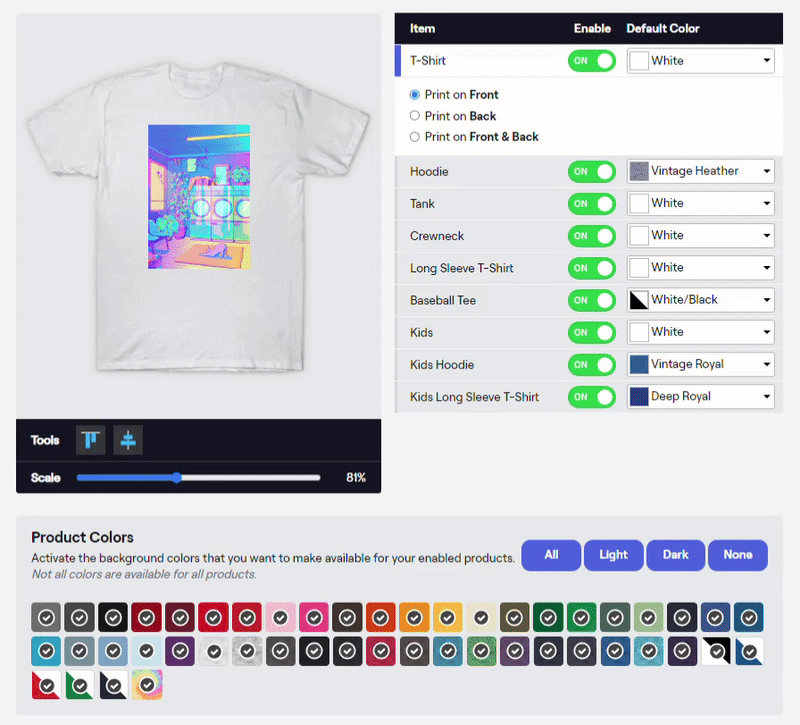
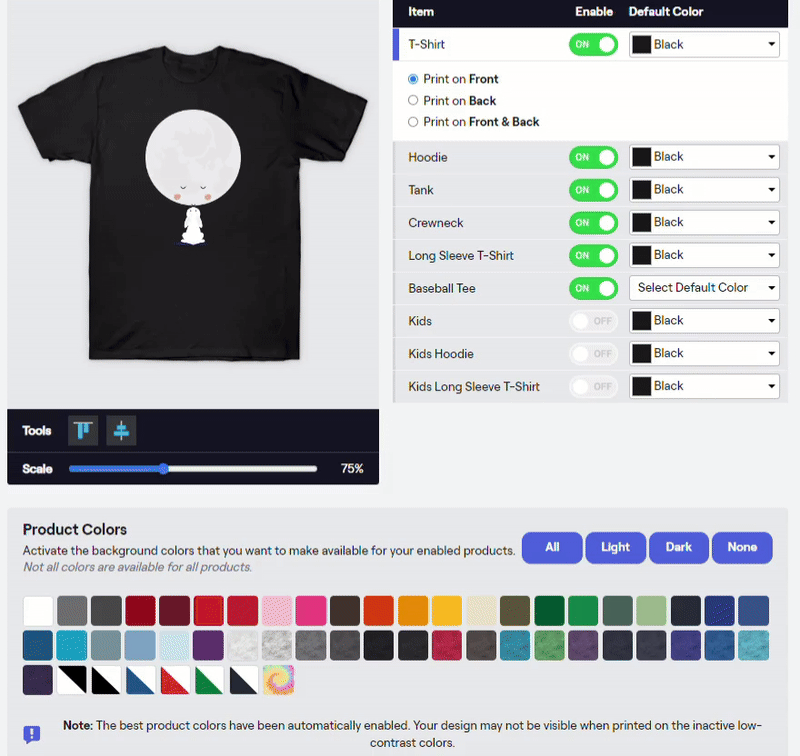
Use the scale slider to make the design larger or smaller on the shirt and use the centering tools to align the image horizontally and vertically. Then activate each garment type and select a default color. You can also choose to print on front, print on the back or print on the front and back for the Classic Tee.
You can change the default color from white for each garment type by using the drop-down menus. Scrolling over the colors will allow you to see what they will look like against the design. Be sure to change the availability of certain colors, depending on your design. The color options will default with all selected, so change that based on the color scheme of the design at hand. If you have white in your design, be sure to turn off the white apparel color option. White ink will not print on a white shirt!
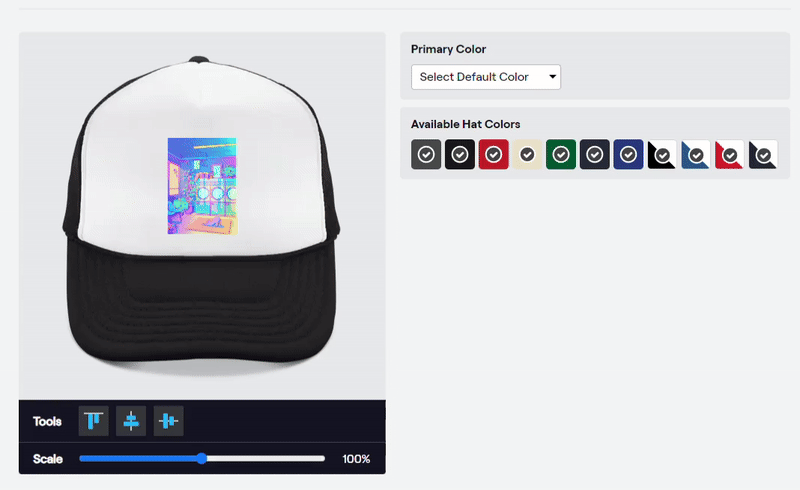
Hats
With hats, you can move and scale your design to your liking on the mockup and set a default color.
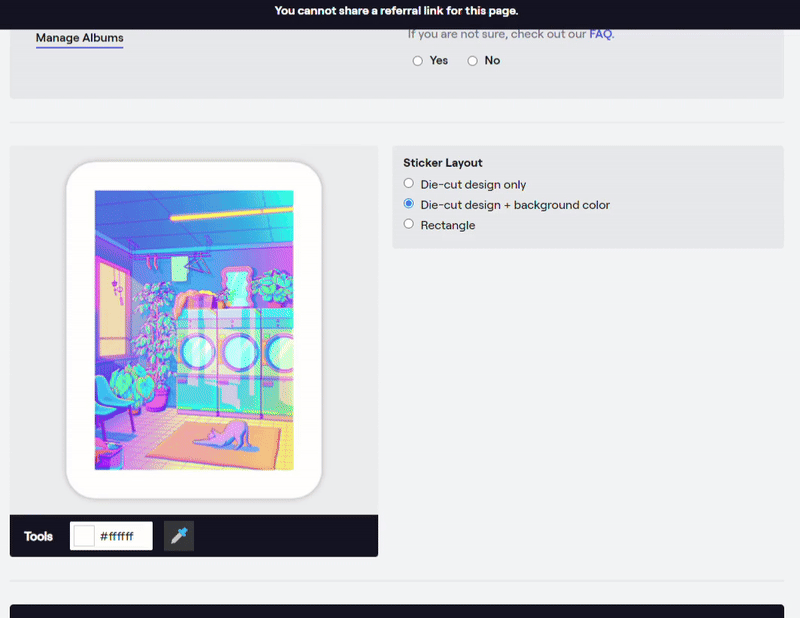
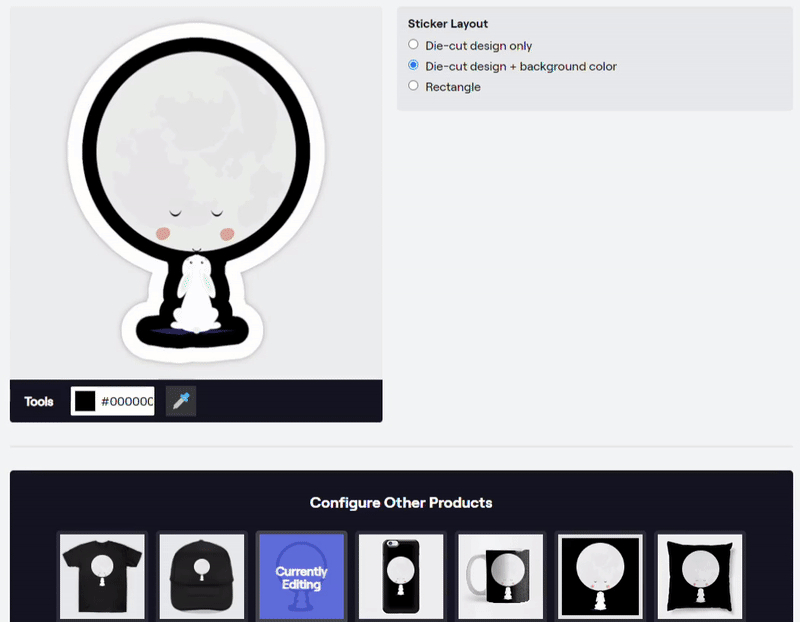
Stickers
If you want a background with your sticker, you can use the color match tool to select a complementary color. You can select "Automatic" layout to have no background with a standard layout, or a "Background Fill" to then be able to change the orientation and aspect ratio of the sticker.
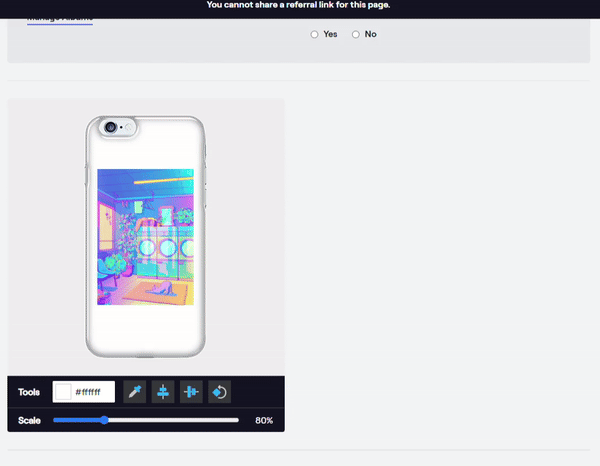
Phone Cases
You can use the color match tool again if necessary but designs like this example look best when scaled up to fit the entire surface of the case. Be sure to change the orientation of the design to landscape when it makes sense.
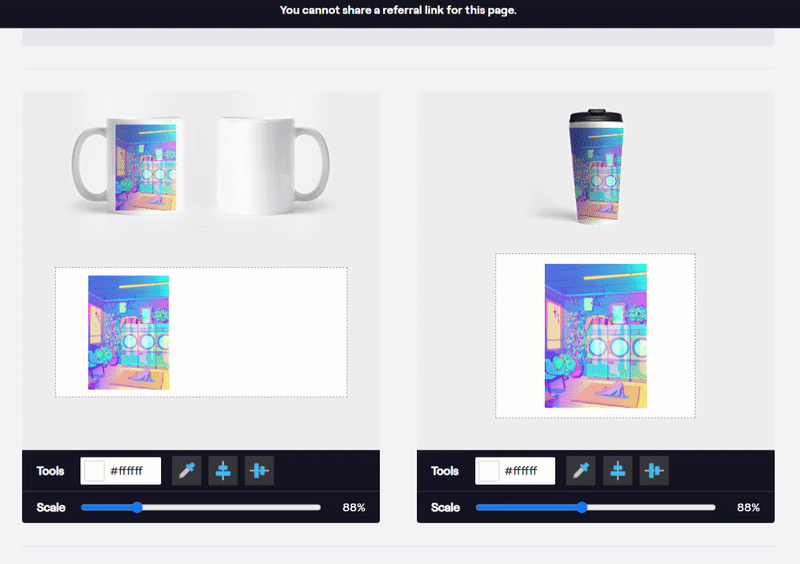
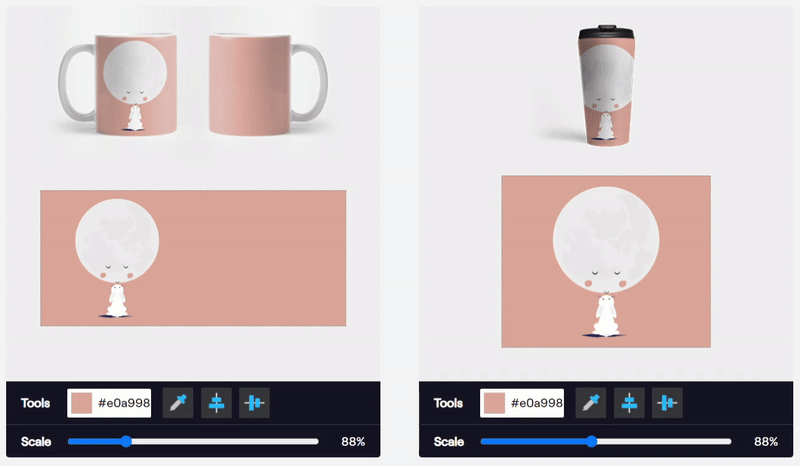
Mugs
This is a great opportunity to use the color match tool if you haven't already, as filling the mug with a background color makes it feel complete. You can also increase the scale of the design and have the image cover the entire surface! This works very well for travel mugs!
*Fun fact: the print surface of a Coffee Mug is a minimum of 2700 x 1200 px, while that of the Travel Mug is 2376 x 2024 px.
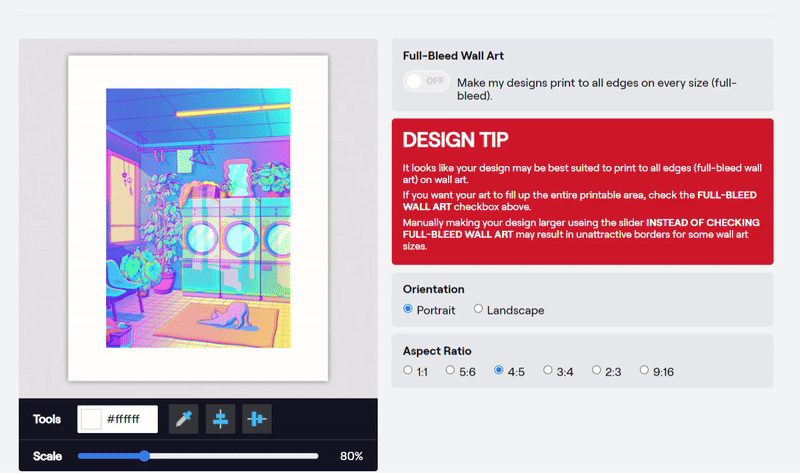
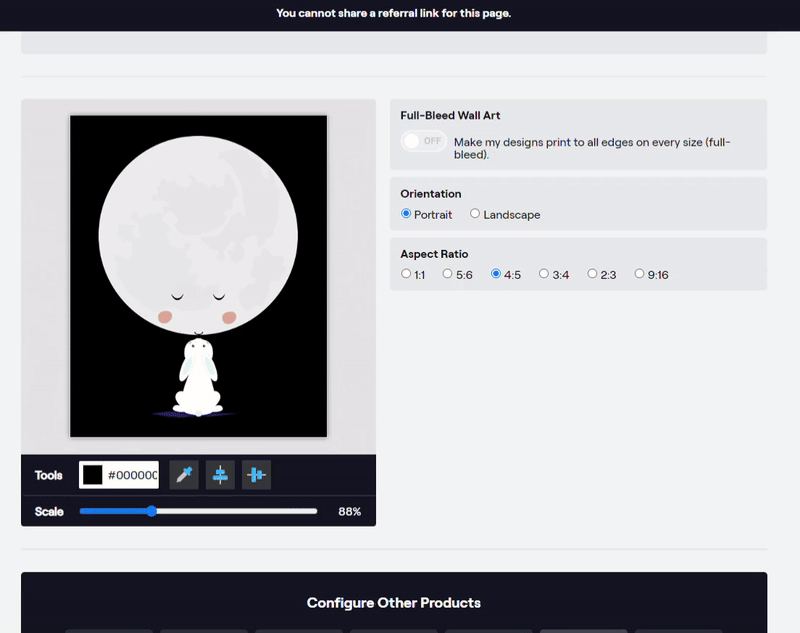
Art Prints
The full-bleed option brings your design to the edges of the canvas but doesn't allow you to manually scale the design or change its placement.
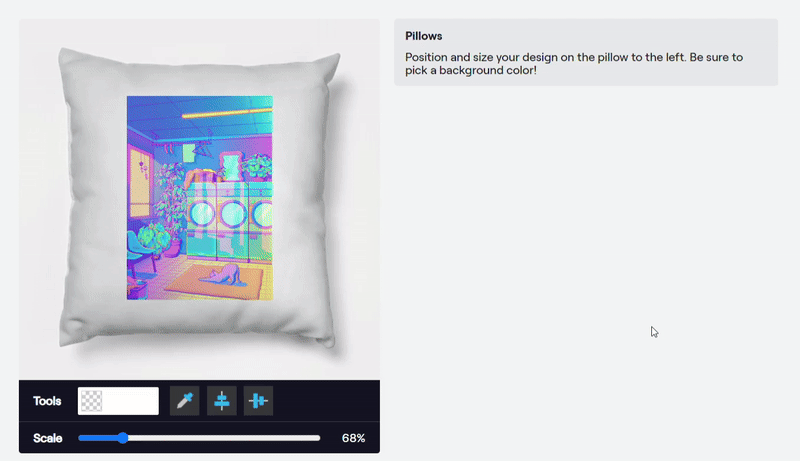
Pillows
This shows the scaling up of the design to fit the full pillow! A default color is still needed, even if the pillow is fully covered by your design.
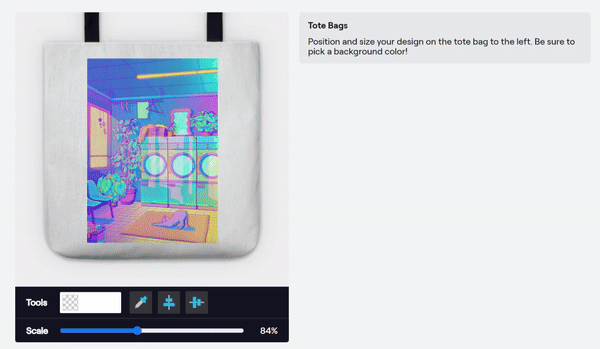
Tote Bags
The Same scaling-up strategy as the pillows :) Remember to set a default color for totes, too.
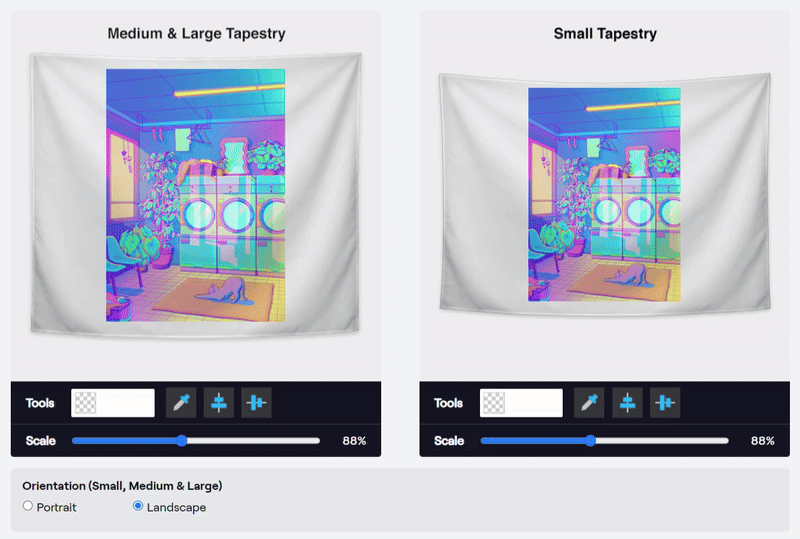
Tapestries
The same scaling-up strategy applies here as well - but make special note of the orientation of the tapestry and change it to portrait if it makes sense for the design. Do not forget the default color!
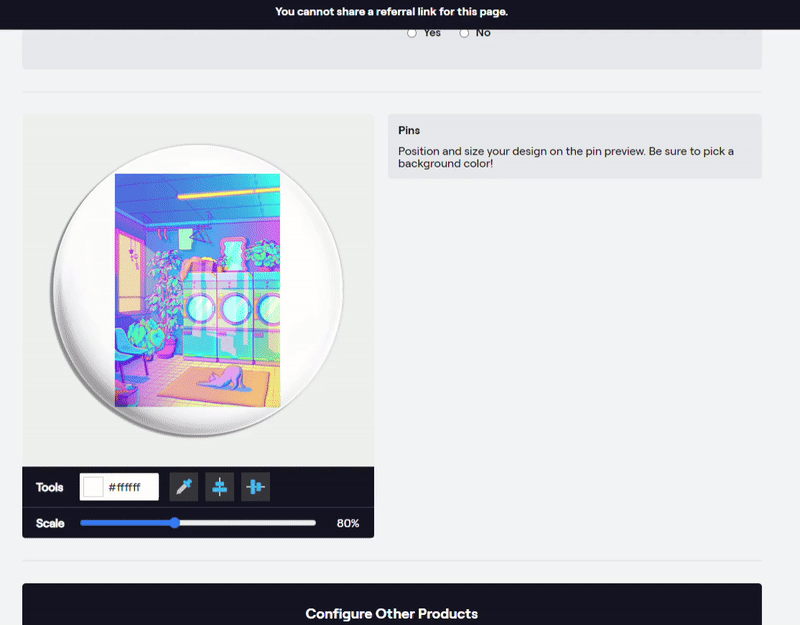
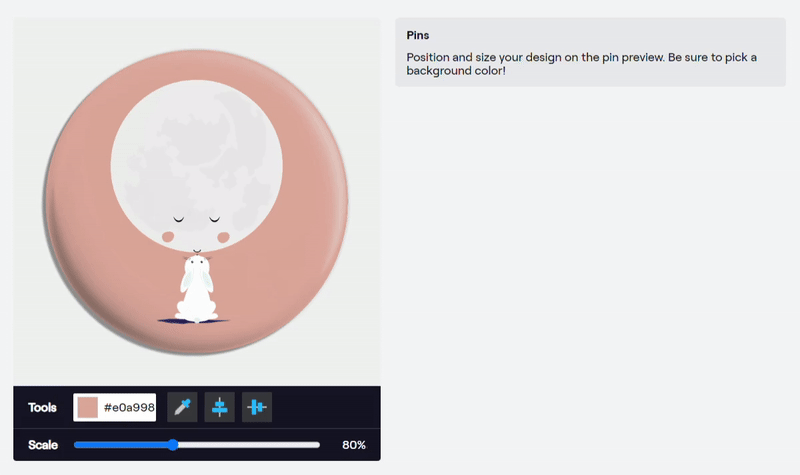
Pins
With pins, you can move and scale your design to your liking. Remember to add a background color, even if the design covers the whole pin.
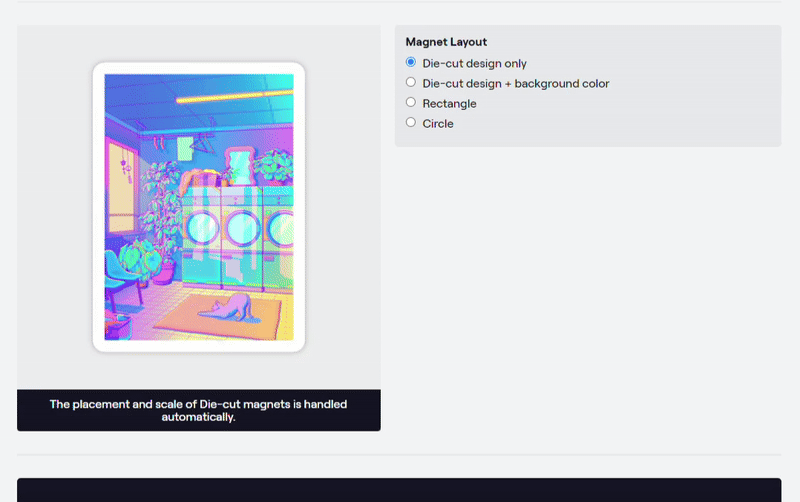
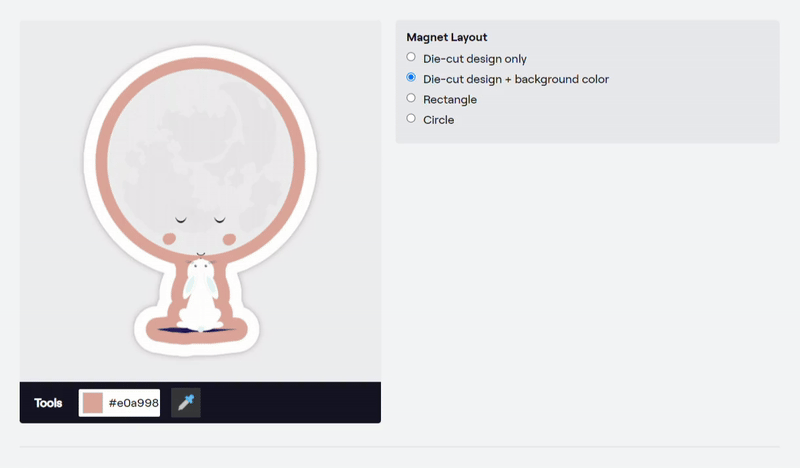
Magnets
With magnets, you can choose your preferred layout, and move and scale your design to your liking (if you pick the Rectangle or Circle option). Remember to add a background color, even if the design covers the whole pin.
Next, let's take a look at a design that has a transparent background, but will need some background colors applied to the products to make it complete:
View in uploader
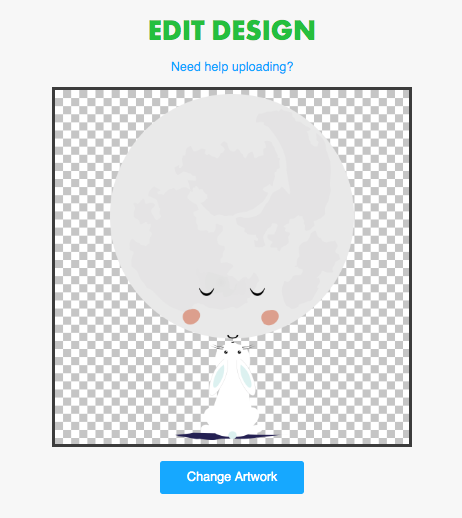
(Source Image: "Goodnight Moon" by grafart)
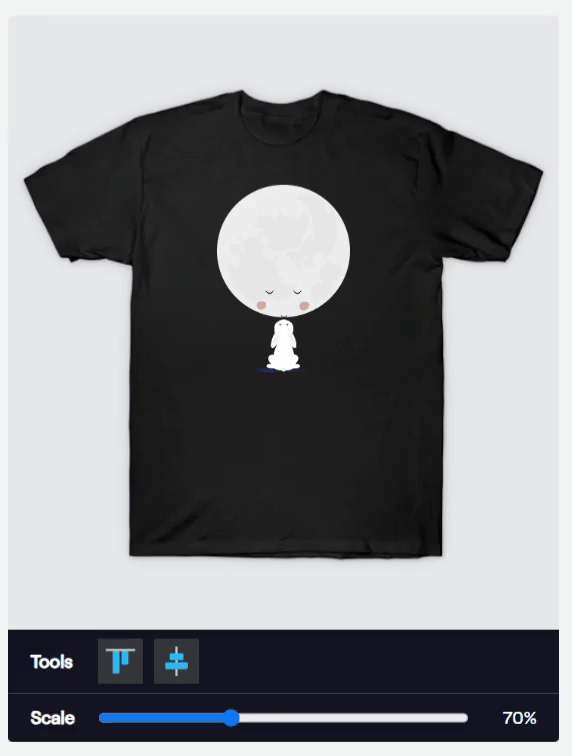
Apparel
You will want to select a background color for the default garment.

Scale the image to the size you want.
Select the shades of colors you want to be made available.
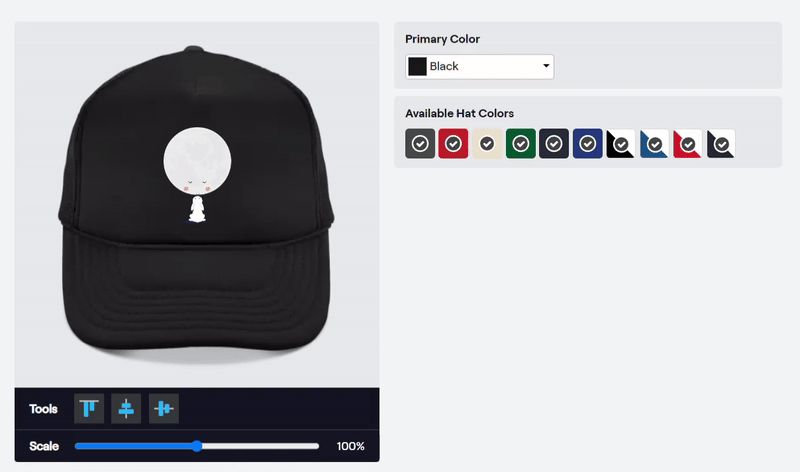
Hats
For hats, you can scale the image to the size you want. You can also move it on the mockup.
Stickers
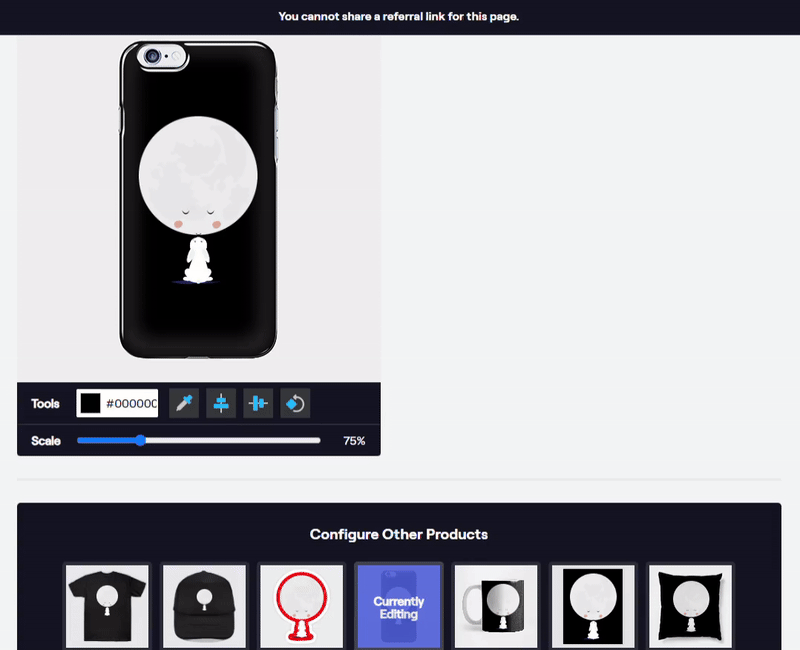
Phone Cases
Scale and position the design as you want it. Afterward, use the color match tool to change the background color.
Mugs
You can use the same color match as the cases for the mug background, and adjust the scale/positioning of the design as you want.
Art Prints
Set a background color that compliments the design using the color tool.
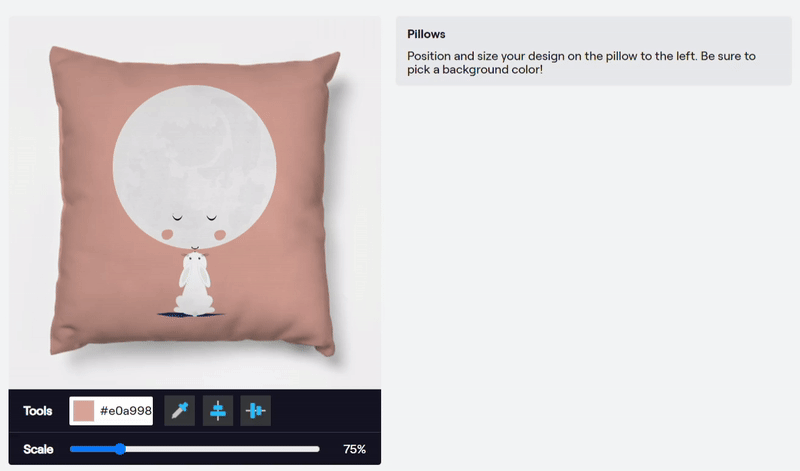
Pillows
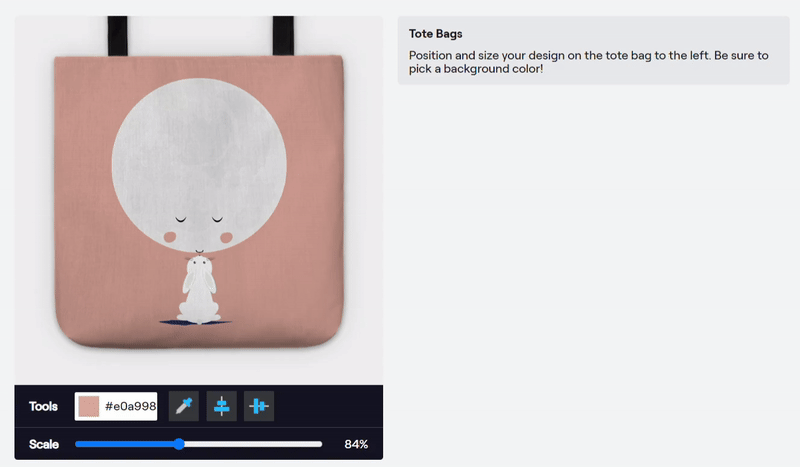
Tote Bags
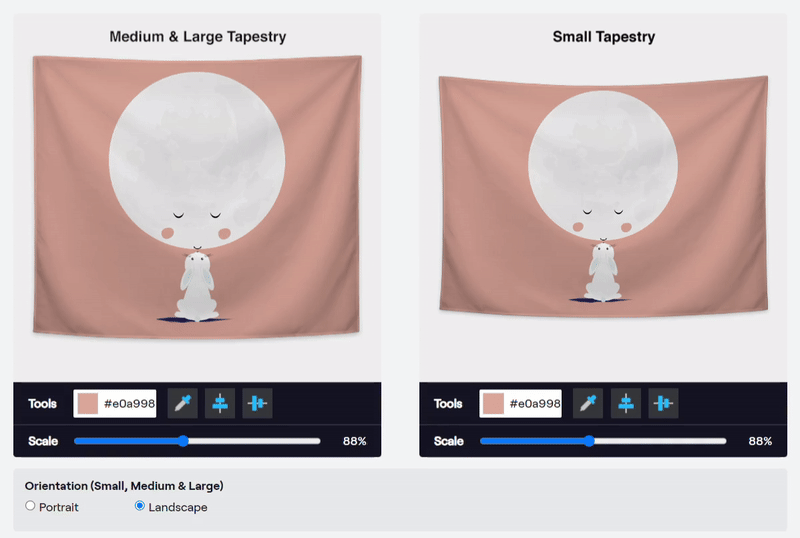
Tapestries
Change the orientation of the tapestry if the design calls for it.
Pins
With Pins, you can move and scale the design to your liking. Make sure to add a background color!
Magnets
Setting up magnets is pretty similar to stickers. You can choose different layouts, as well as move and scale your designs. Make sure to set a background color!
And ta-da! Your design looks incredible on each and every product!!
Try it out for your very own on our uploader!
Of course, let us know if you have any questions at [email protected]. Excited to see your new work!


