
Upload Your Designs: How to Share Your Art with the World!

You’ve set up shop -- now it’s time to show off your designs! Uploading your art is quick and easy. Here are all the basics you need to know about the TeePublic uploader.
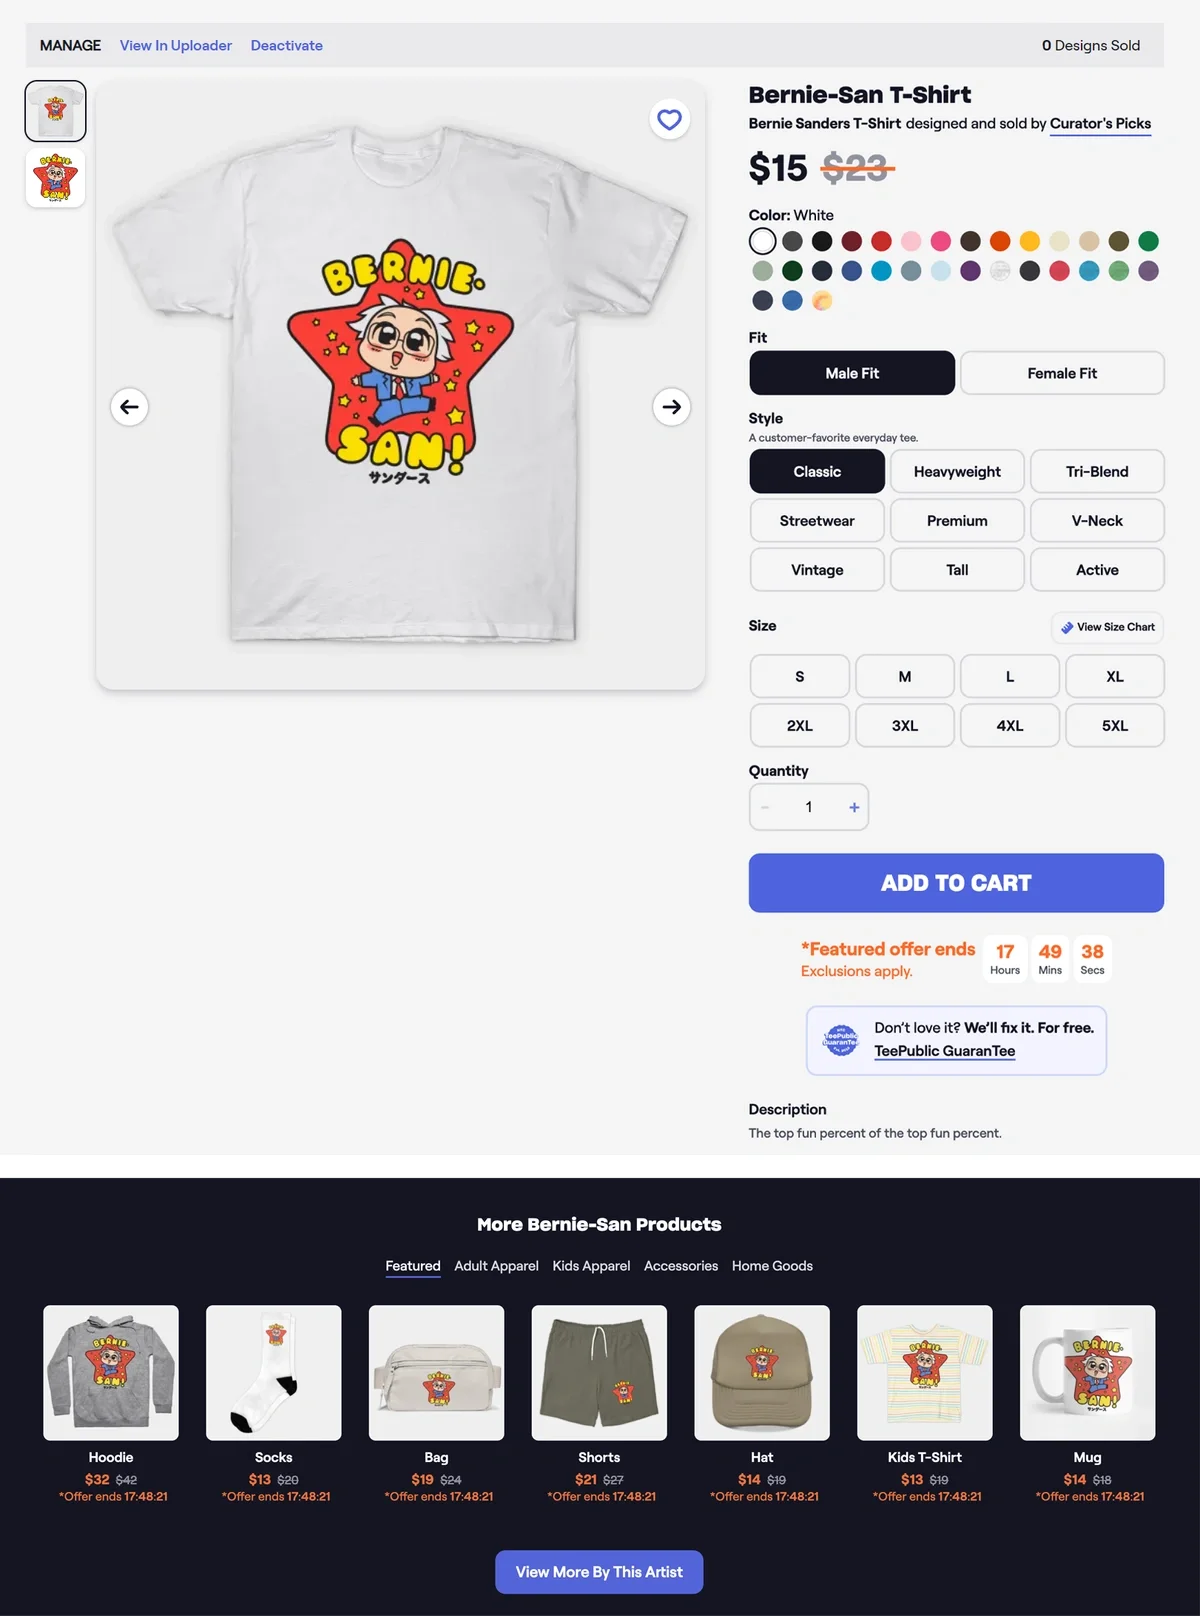
(Ready to level up? Check out our complete walkthrough of the uploader instead.)

First things first: For the best experience of the uploader and all its features, make sure to use a Desktop computer or laptop with the latest version of Google Chrome or Firefox.
Now, let’s get started! Just click “Upload Art” in the upper right corner of the homepage. This will take you to the uploader.

1. Make sure your design is PNG format!
2. You can either click and drag your image or click the box itself to browse your computer for your design.
3. Click Change Artwork if you want to switch designs

If anything is up with your file, we’ll let you know with a message highlighted yellow. This particular design isn’t big enough for all When this happens, you can either resize and try again or just continue with the upload process and turn OFF the "wall art" category for this design's product offerings.
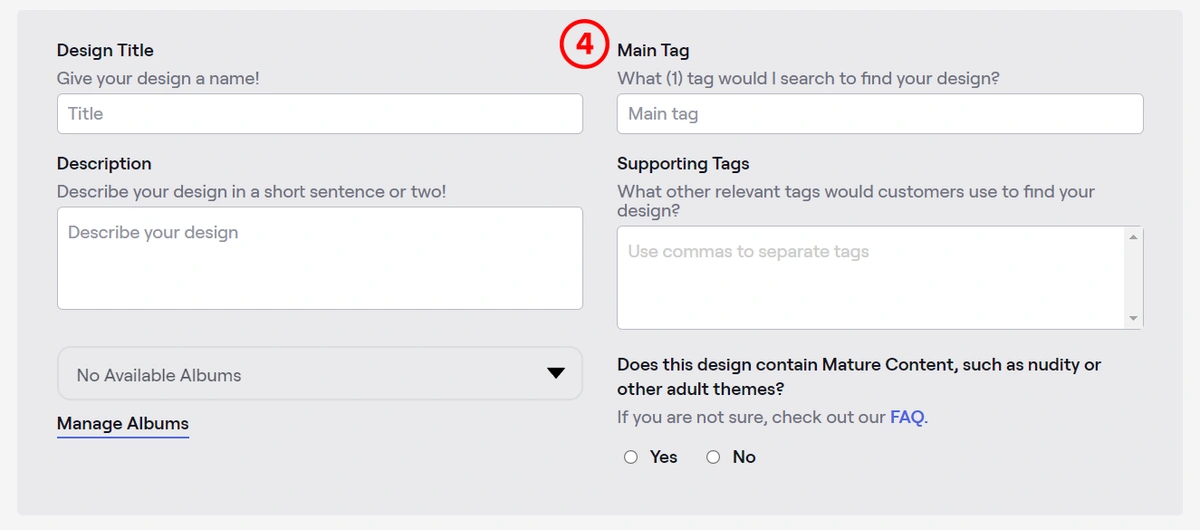
4. Now name your design and get tagging!
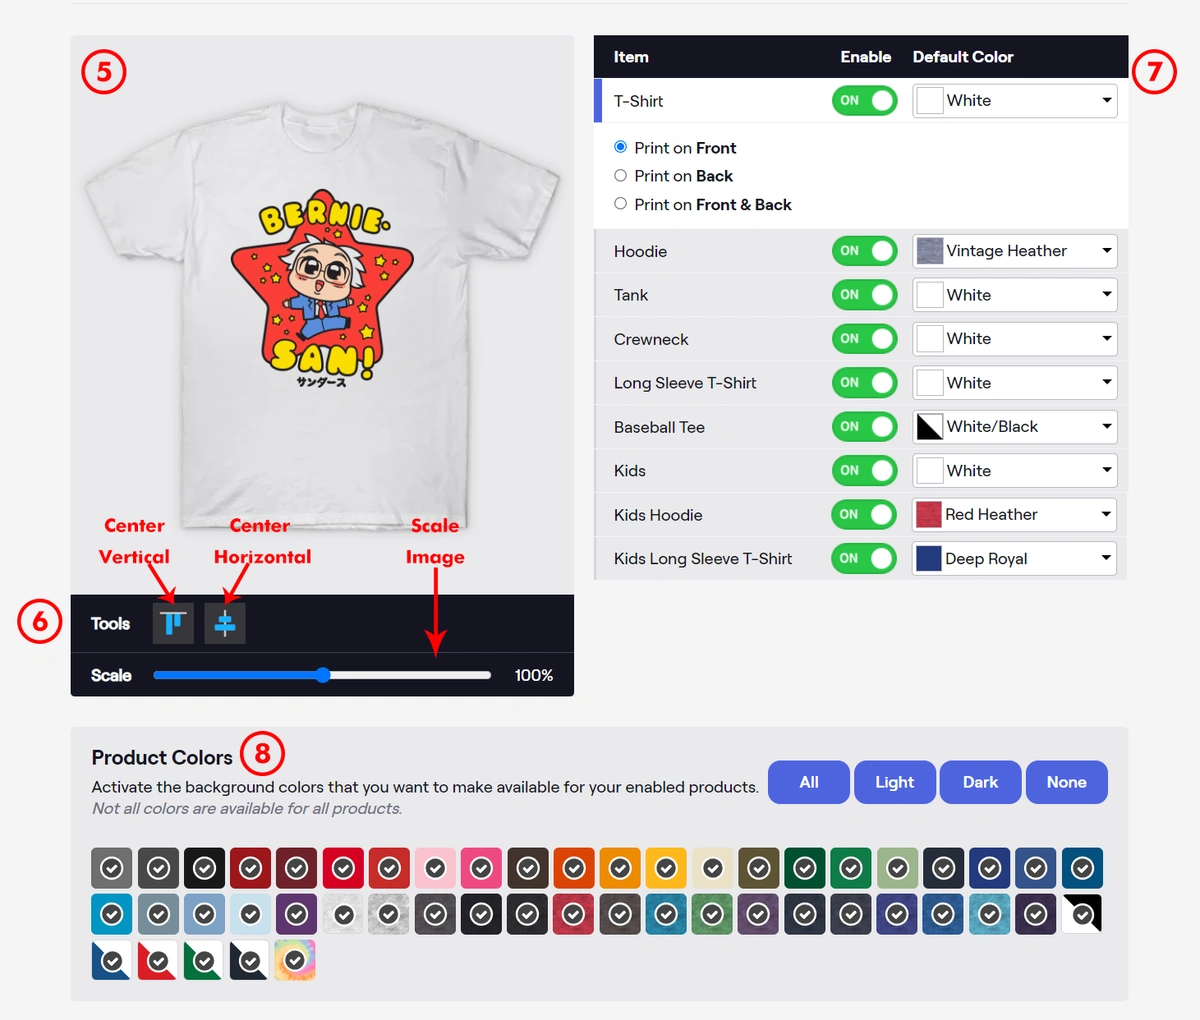
5. Next up, change the scale and positioning of your design on the t-shirt mockup.
*A note: All apparel items are considered one item in the uploader. This means that the placement and scaling you choose for one will apply to all other items.
6. Use the Center Horizontal or Send to Top tools to automatically position the design or click and drag it exactly where you want it.
7. Turn ON any apparel products you want your design available on. Make sure to select a default color for all the items you've enabled.
8. Select or deselect color swatches to choose which garment colors you want your design available on. For example, if your design has black letters, you’ll want to deselect black and other very dark colors.
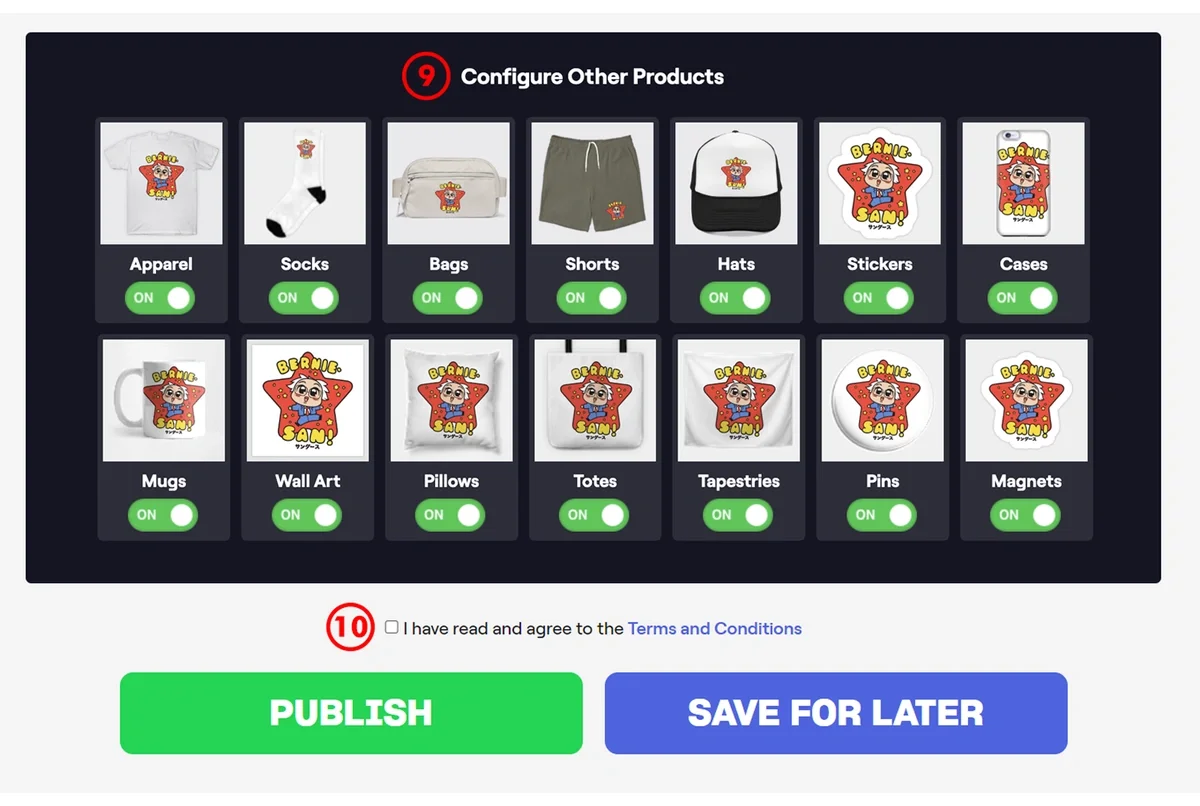
9. Turn on (or off) any other products you want available for your design. (If you want to change the scale/positioning of the designs on these products or their background colors, just click on the mock-up product image and you will see an edit page for each product similar to the above apparel view.)
10. Check off that you have read and agreed to our Terms and Conditions.
Now you have two options: PUBLISH to make it available for sale now or SAVE FOR LATER to save your work without posting the design to your store yet.
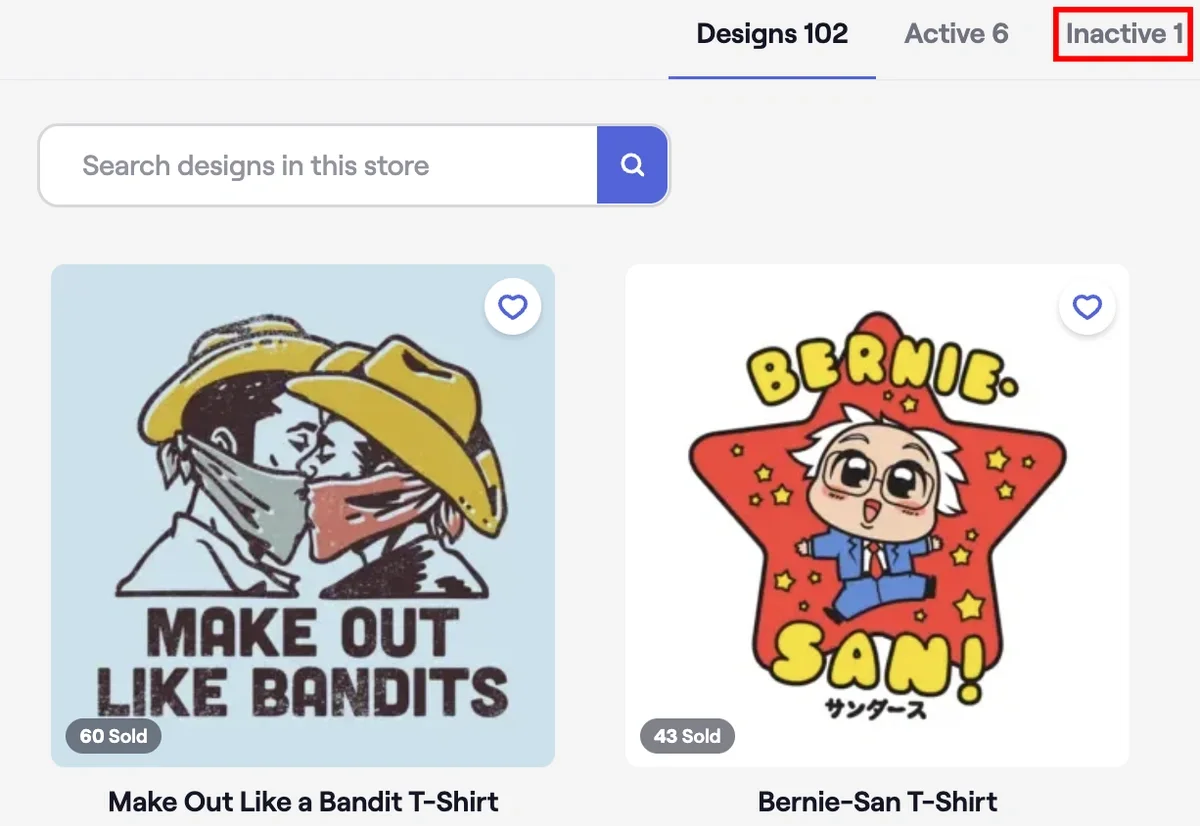
If you SAVE FOR LATER, your design will be under Inactive Designs. You will see this section under your storefront’s banner.
If you select PUBLISH, you’ll be directed to the design’s product page! Nice!
Well, there you have it! Now go forth and share your art with the world!
Something on your mind? Just send us a message at [email protected].


